Embrace the Tradition: The Ultimate Homemade Pumpkin Pie Recipe with Fresh Pumpkin and a Flaky Crust
There's something truly magical about the aroma of a freshly baked pumpkin pie wafting through your home. While convenient, store-bought pies or those made with canned pumpkin often fall short of the rich, nuanced flavors that a truly traditional homemade pumpkin pie from scratch can deliver. This comprehensive guide will walk you through creating the ultimate dessert: a luscious, creamy pumpkin pie featuring real fresh pumpkin and encased in a perfectly golden, authentic from-scratch flaky crust. Get ready to ditch the shortcuts and embrace a baking experience that will elevate your holiday table and create lasting memories. This isn't just a recipe; it's an invitation to savor the true essence of autumn.
Why Fresh Pumpkin Makes All the Difference
Many recipes call for canned pumpkin puree, and while it's certainly convenient, opting for fresh pie pumpkin elevates your pie to an entirely new level. Fresh pumpkin offers a brighter, more complex flavor profile and a silkier texture that simply can't be replicated. It allows you to control the moisture content and ensures your pie tastes genuinely of pumpkin, not just "pumpkin spice." Beyond the superior taste, using fresh pumpkin connects you more intimately with the ingredients and the age-old tradition of holiday baking.
Choosing and Preparing Your Pumpkin
- Select the Right Pumpkin: Look for "pie pumpkins" or "sugar pumpkins" (often labeled as Cinderella, Lumina, or Jarrahdale). These smaller varieties are sweeter, less stringy, and have a denser flesh compared to carving pumpkins, making them ideal for baking. A pumpkin weighing around 1.5 to 2 pounds typically yields about 2 cups of mashed puree.
- Preparation is Key: Begin by washing your chosen pumpkin thoroughly. Cut it in half, then scoop out all the seeds and fibrous strands. Don't discard the seeds—they can be roasted for a tasty snack!
- Cooking Methods for Perfection: While some recipes suggest boiling, roasting your pumpkin can deepen its flavor significantly by caramelizing the natural sugars, adding a layer of complexity.
- Roasting: For superior flavor, place pumpkin halves cut-side down on a baking sheet lined with parchment paper. Roast at 375°F (190°C) for 45-60 minutes, or until fork-tender. This method concentrates the pumpkin's sweetness and aroma.
- Boiling (as per reference): If preferred, cut the cleaned pumpkin into chunks, leaving the skin on. Place in a saucepan with about 1 inch of water, bring to a boil, then reduce heat to low and simmer until tender, roughly 20-30 minutes.
- Puree Power: Once cooked and cooled slightly, scoop the flesh from the skin. Mash it with a fork or, for the smoothest possible puree, process it in a food processor until completely smooth. Ensure your puree is thick; if it seems too watery, gently simmer it in a saucepan over low heat to reduce excess moisture, stirring frequently. This step is vital to prevent a runny pie filling. You'll need about 2 cups of mashed pumpkin for one pie.
Crafting the Perfect Flaky Pie Crust: The Foundation of Your Homemade Pumpkin Pie
A truly unforgettable homemade pumpkin pie recipe starts with an exceptional crust. Forget the pre-made, store-bought options; a homemade flaky crust is surprisingly simple to achieve and makes an enormous difference in taste and texture. The secret lies in using very cold ingredients and minimal handling, which creates pockets of butter or shortening that steam and puff during baking, resulting in a tender, golden masterpiece that crumbles delicately with every bite.
Flaky Pie Crust Ingredients:
- 1 ⅓ cups all-purpose flour
- ½ teaspoon salt
- ½ cup (1 stick) very cold unsalted butter or shortening, cut into small ½-inch cubes
- 3-4 tablespoons ice cold water (have extra on hand)
Directions for a Flawless Crust:
- Combine Dry Ingredients: In a medium bowl, whisk together the all-purpose flour and salt. This ensures even distribution and prevents pockets of plain flour.
- Incorporate the Fat: Add the cold butter or shortening cubes to the flour mixture. Using a pastry blender, two knives, or your fingertips, quickly cut the butter into the flour until the mixture resembles coarse crumbs with some pea-sized pieces of butter still visible. This is crucial for flakiness; do not overmix, as overworking develops gluten and can lead to a tough crust.
- Add Cold Water Gradually: Drizzle in 3 tablespoons of ice water, one tablespoon at a time, mixing lightly with a fork after each addition. The goal is just enough moisture for the dough to come together when gently squeezed. If it's too dry, add up to 1 more tablespoon of water, ½ teaspoon at a time, until the dough just barely holds together.
- Form and Chill: Gently gather the dough into a cohesive ball with lightly floured hands. Flatten it into a disc, wrap it tightly in plastic wrap, and refrigerate for at least 30 minutes (or up to 2 days). Chilling relaxes the gluten, solidifies the butter, and makes the dough much easier to roll without sticking or tearing.
- Roll with Care: On a lightly floured surface, roll the chilled dough from the center outwards to a thickness of about ⅛ inch. Rotate the dough frequently and add a light dusting of flour if needed to prevent sticking. Aim for a circle roughly 12 inches in diameter for a standard 9-inch pie pan.
- Transfer to Pie Pan: Carefully transfer the rolled dough to your 9-inch pie pan. You can gently roll it around your rolling pin and unroll it over the pan, or fold it into quarters and unfold it. Ease the dough into the bottom and sides of the pan without stretching, which can cause it to shrink during baking.
- Flute the Edges: Trim any excess dough, leaving about a 1-inch overhang. Fold the overhang under itself, then crimp or flute the edges decoratively using your fingers or a fork. For extra crispness and to prevent shrinking, you can chill the prepared crust in the pan for another 15-20 minutes before filling.
The Heart of the Pie: A Rich and Spiced Pumpkin Filling
With your perfectly crafted homemade crust ready, it's time to create the creamy, warmly spiced filling that defines a perfect homemade pumpkin pie recipe. The careful balance of aromatic spices and the richness of the dairy are what make this recipe truly stand out, providing that comforting flavor we all associate with holiday gatherings.
Pumpkin Pie Filling Ingredients:
- 2 cups mashed, cooked pie pumpkin (freshly prepared, as described above, ensure it's thick and not watery)
- 1 (12 fluid ounce) can evaporated milk
- 2 large eggs, lightly beaten
- ¾ cup packed light brown sugar (you can slightly adjust this based on the sweetness of your fresh pumpkin and personal preference)
- ½ teaspoon ground cinnamon
- ½ teaspoon ground ginger
- ½ teaspoon ground nutmeg
- ¼ teaspoon ground cloves (optional, but highly recommended for a deeper, more complex spice profile)
- ½ teaspoon salt (enhances all the flavors)
Assembling the Filling:
- Preheat Oven: Get your oven ready by preheating it to 400°F (200°C). This initial high temperature is key for setting the crust properly.
- Combine Wet Ingredients: In a large mixing bowl, combine the freshly mashed pumpkin, evaporated milk, and lightly beaten eggs. Whisk or mix until well incorporated and smooth.
- Sweeten and Spice: Add the brown sugar, cinnamon, ginger, nutmeg (and optional cloves), and salt to the pumpkin mixture.
- Mix to Perfection: Using an electric mixer on medium speed (or a sturdy whisk), beat the filling ingredients until they are completely smooth and well combined. Scrape down the sides of the bowl to ensure no dry spots or lumps remain. The mixture should be uniform in color and consistency.
- Pour and Bake: Carefully pour the prepared pumpkin filling into your chilled, unbaked pie crust. Gently tap the pie pan on the counter a few times to release any trapped air bubbles.
Baking to Perfection: Achieving that Golden Finish
Baking a pumpkin pie isn't just about throwing it in the oven; it's about monitoring, adjusting, and knowing when it's just right. This step is where your homemade pumpkin pie recipe transforms from raw ingredients into a golden, autumnal delight with a perfectly set, creamy filling.
Baking Instructions:
- Initial High Heat: Bake the pie in the preheated 400°F (200°C) oven for the first 15 minutes. This initial high heat helps to set the crust and create a slight puff, promoting a beautiful golden-brown color.
- Reduce Heat & Continue Baking: After 15 minutes, reduce the oven temperature to 350°F (175°C) without opening the oven door, if possible. Continue baking for an additional 25-45 minutes, or until the pie is set. Baking times can vary depending on your oven.
- Check for Doneness: The pie is done when a knife inserted into the filling about 1 inch from the edge comes out clean. The very center might still have a slight jiggle, which is perfectly normal and indicates a creamy, custard-like texture that will firm up as it cools. Avoid overbaking, as this can lead to cracks in the filling and a dry texture.
- Protect the Crust: If your pie crust edges start to brown too quickly (a common occurrence), loosely cover them with strips of aluminum foil or a reusable pie crust shield.
- Cool Completely: This is perhaps the hardest part, requiring patience! Once baked, remove the pie from the oven and place it on a wire rack to cool completely to room temperature. This can take several hours, typically 2-4 hours. Cooling allows the filling to fully set and firm up, preventing it from collapsing when sliced. Do not rush this step by refrigerating it warm.
Serving Suggestions & Making it Your Own
Your beautiful homemade pumpkin pie recipe is now ready to be enjoyed! While delicious on its own, there are many ways to enhance the serving experience and even personalize the recipe to your taste. This pie is a celebration in itself, but a few thoughtful additions can elevate it further.
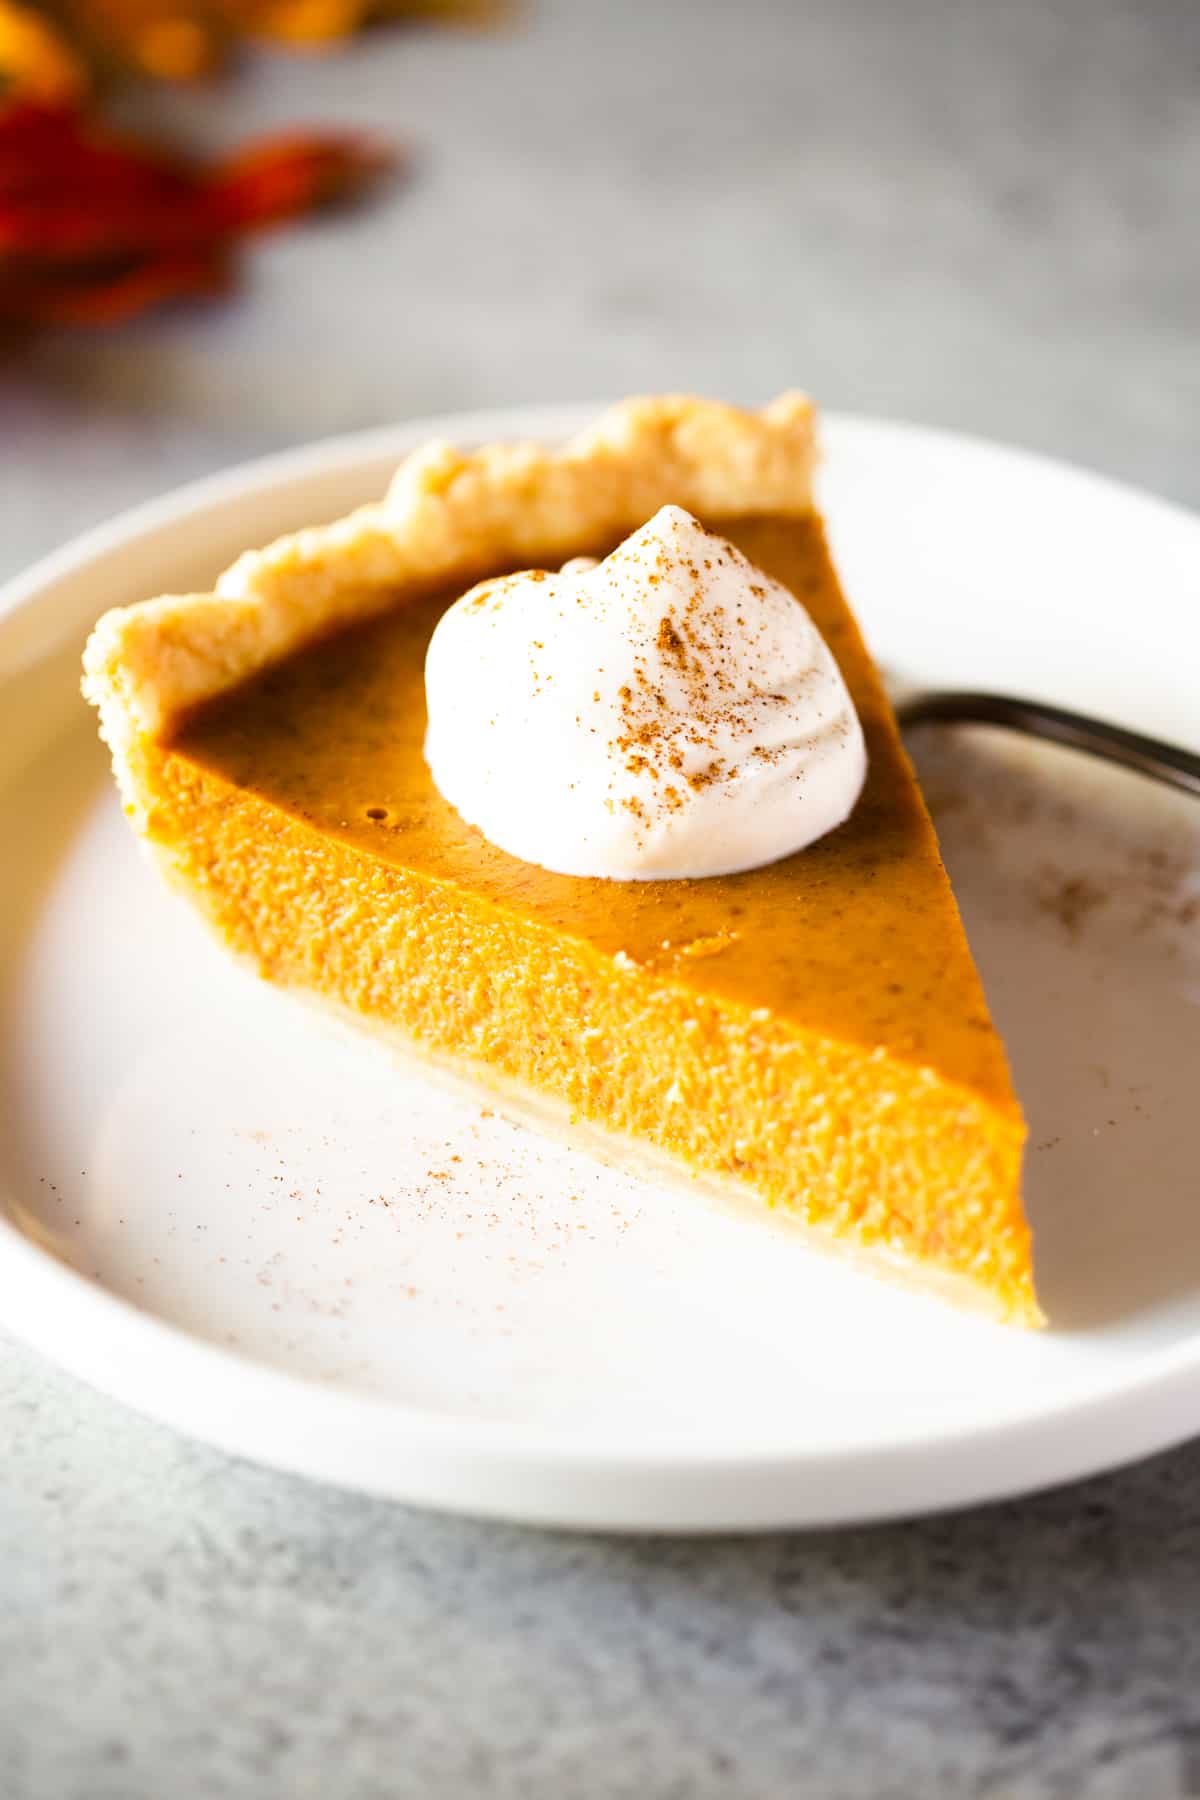
- Classic Whipped Cream: A generous dollop of freshly whipped cream is the quintessential topping. For an extra touch, infuse your cream with a hint of vanilla extract, a pinch of cinnamon, or a teaspoon of maple syrup before whipping.
- Caramel Pecan Topping: As hinted in other beloved recipes, a homemade caramel pecan topping can take your pie "over the top." A simple mix of toasted pecans, butter, brown sugar, and a touch of cream simmered into a sticky, luscious sauce makes for an indulgent addition.
- A Scoop of Vanilla Bean Ice Cream: The cold, creamy contrast of a high-quality vanilla bean ice cream pairs wonderfully with the warm spices of pumpkin pie, especially if the pie is served slightly warm.
- Aromatic Garnishes: A light dusting of finely ground cinnamon, nutmeg, or even a few candied pecans or a sprinkle of flaky sea salt can add visual appeal and an extra layer of flavor and texture.
- Flavor Variations: Feel free to experiment with your spices! A pinch of allspice or a touch of cardamom can introduce fascinating new dimensions. For a subtle adult twist, a tablespoon of dark rum, bourbon, or brandy added to the filling (reducing other liquids slightly) can add wonderful depth. For a hint of brightness, a teaspoon of orange zest can lift the overall flavor profile.
This pie is perfect for Thanksgiving, Christmas, or any autumnal gathering. It can be made a day in advance and stored covered in the refrigerator, allowing you to focus on other festivities without last-minute baking stress.
Conclusion: The Reward of Homemade
Creating a homemade pumpkin pie recipe from scratch, especially one featuring fresh pumpkin and a tender, flaky crust, is a truly rewarding endeavor. It's a culinary journey that connects you to tradition and results in a dessert that is far superior to any store-bought alternative. The effort you put into selecting fresh ingredients, crafting your own crust, and balancing those warming spices will be evident in every delicious bite. So, gather your ingredients, embrace the process, and prepare to share a truly unforgettable slice of autumn with your loved ones. Happy baking!
